

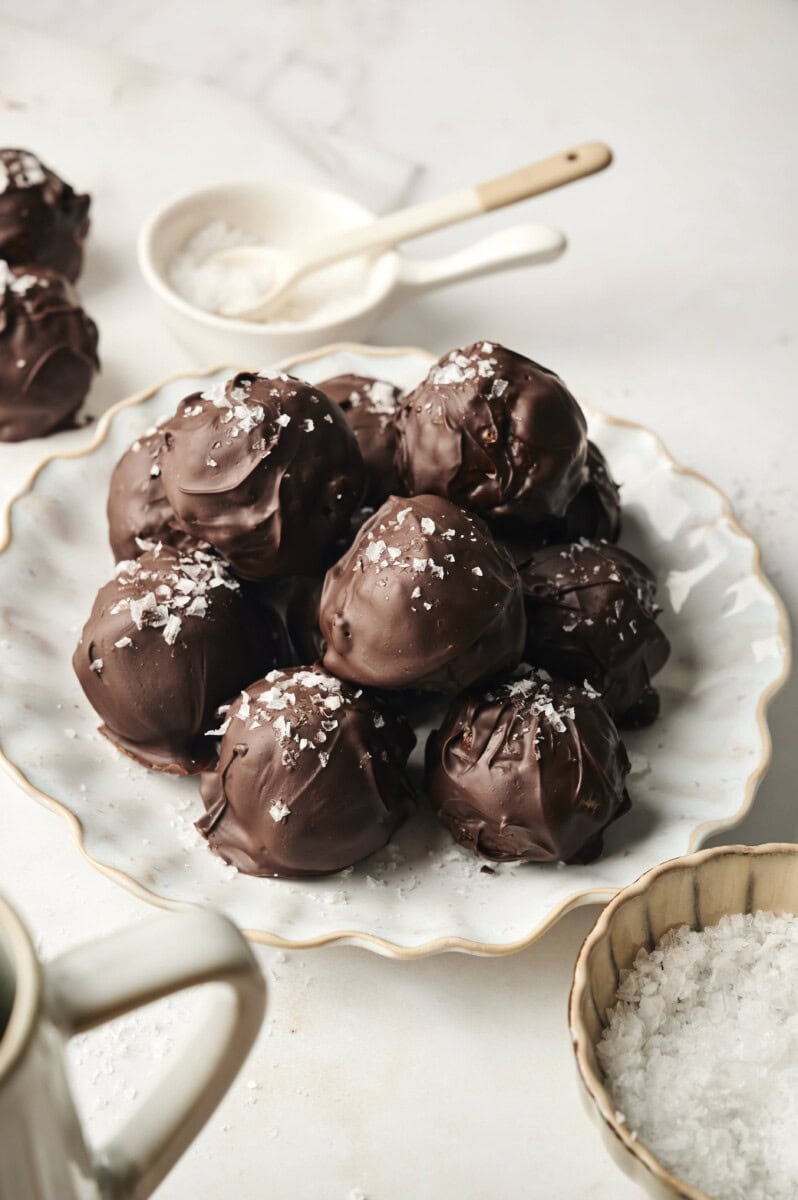
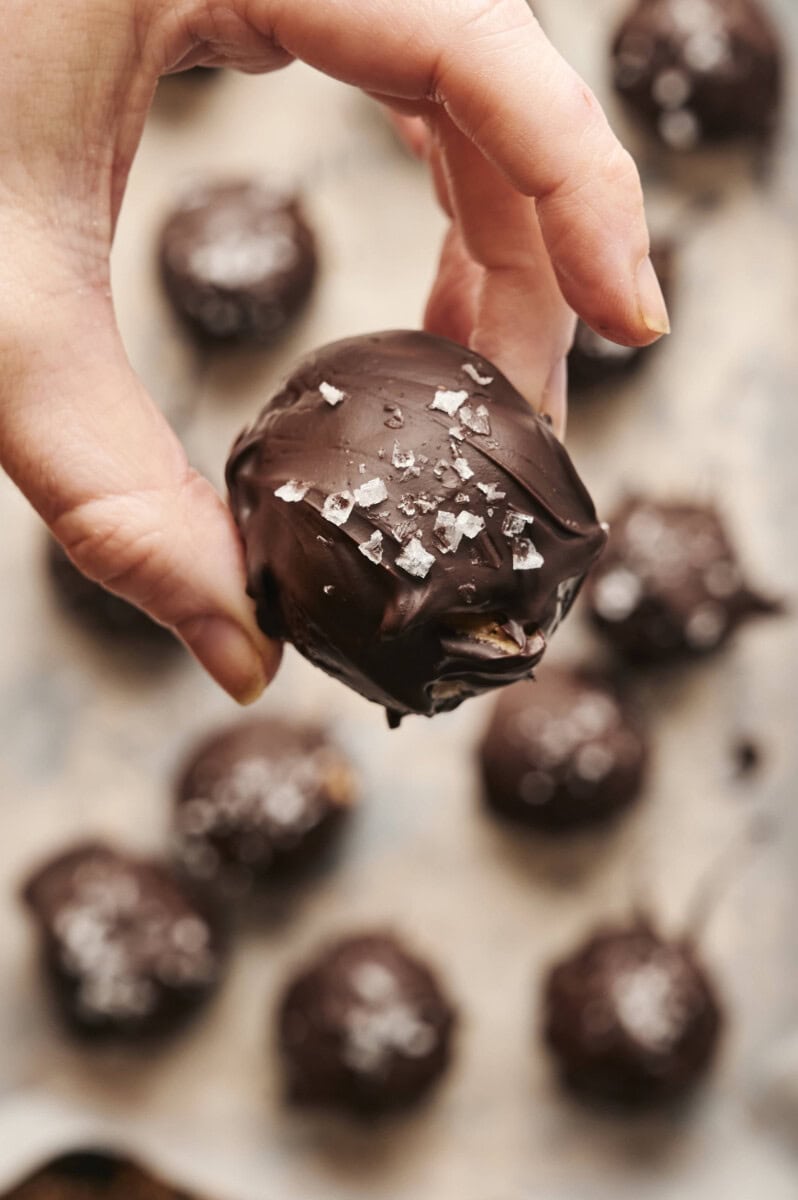
These homemade healthier peanut butter balls are made lighter with less sugar than the classic version. They are covered in chocolate and have a crunchy filling that is highly addictive.
Peanut butter balls are my absolute favorite holiday treat and grandma’s are legendary. They are little balls of peanut butter mixed with tons of powdered sugar and coated in chocolate. They even have paraffin wax mixed into the chocolate thin it out and create a beautiful glossy finish. They are so good in fact that my family members hide them and lie about how many we’ve eaten!
I wanted to make a healthier version of peanut butter balls with less refined sugar and no paraffin wax. I have to admit that are not the same as the sugar bombs that my grandma makes, but they are still really tasty and addictive!

Try my peanut butter blossom cookie for more peanut butter goodness!
Ingredients
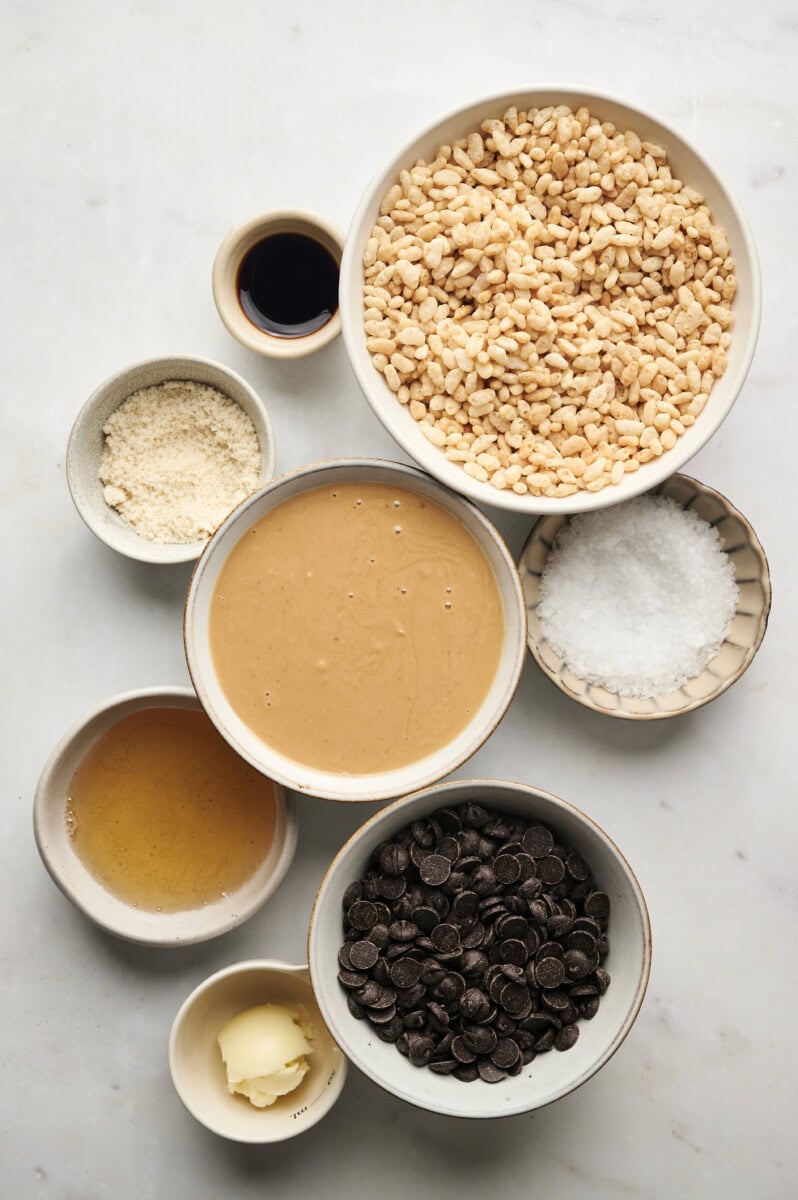
Peanut butter
Real maple syrup
Almond flour
Vanilla extract
Rice krispies
Semi-sweet chocolate
Butter or coconut oil
Sea salt
See recipe card for exact quantities.
Instructions
Peanut butter balls are a delicious no-bake treat. The hardest part is keeping the chocolate warm while dipping them, but once you get the hang of it the process goes quickly. A double boiler on low helps keep the chocolate warm and melted throughout the process.
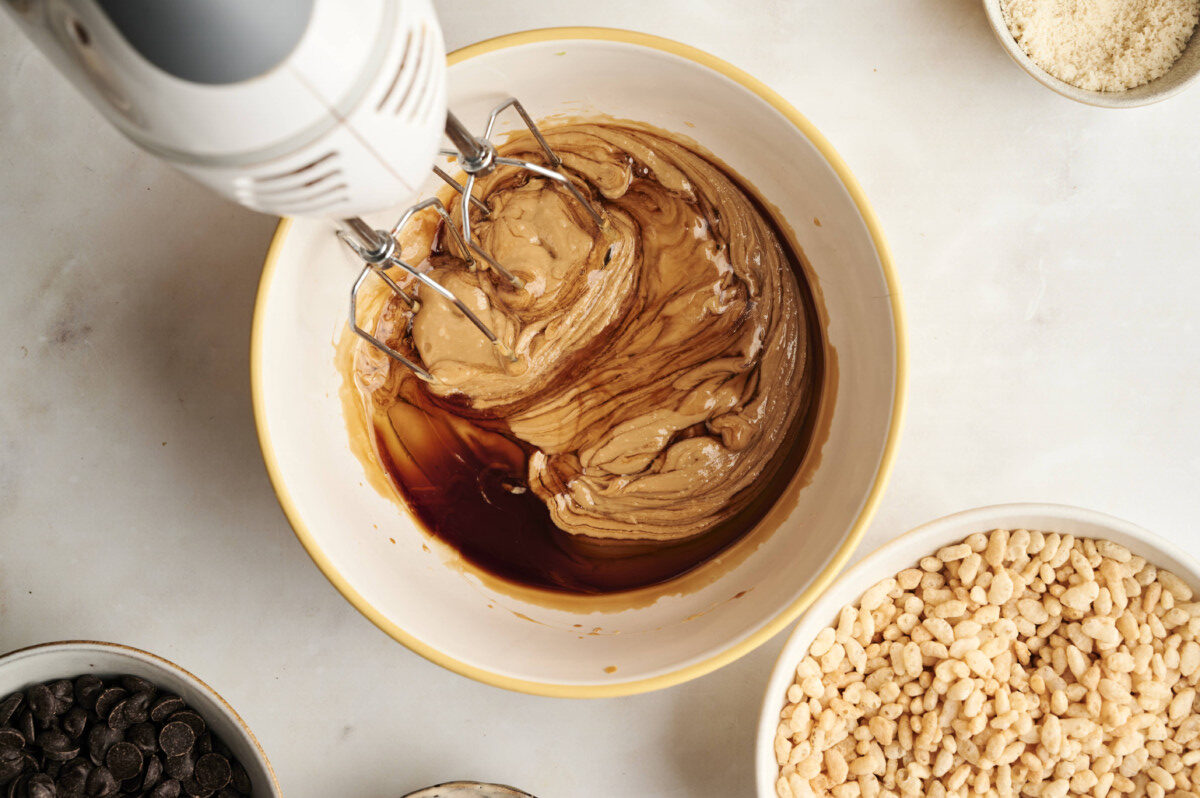
Step 1: Line a medium sized baking sheet with parchment paper or a silicon mat. Set aside. Mix peanut butter, maple syrup and vanilla in a stand mixture until well combined. Add almond flour and mix until well combined.
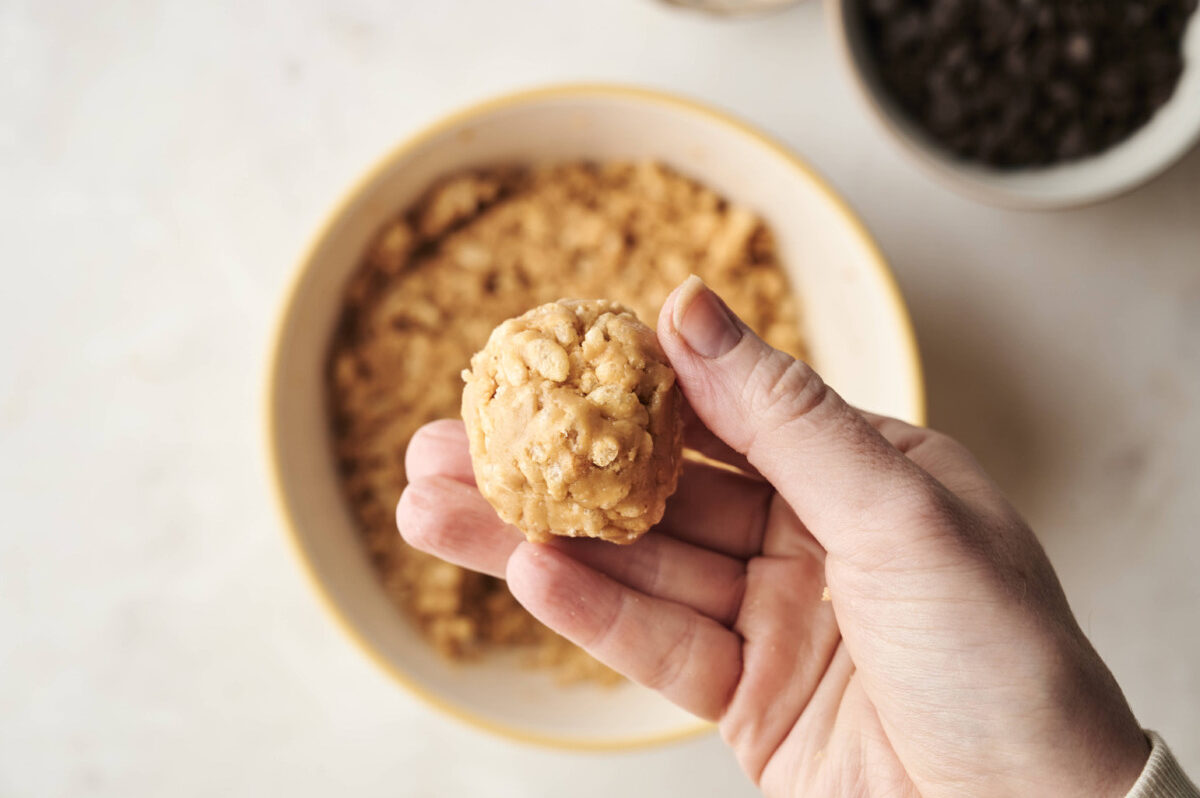
Step 2: Add rice krispies to the bowl and mix by hand or a large wooden spoon. Using your hands, grab a golf ball sized amount and use your palm to form into a ball. If the dough is too soft, try adding bit more almond flour. Place finished balls on the baking sheet. Chill for at least 20 minutes.
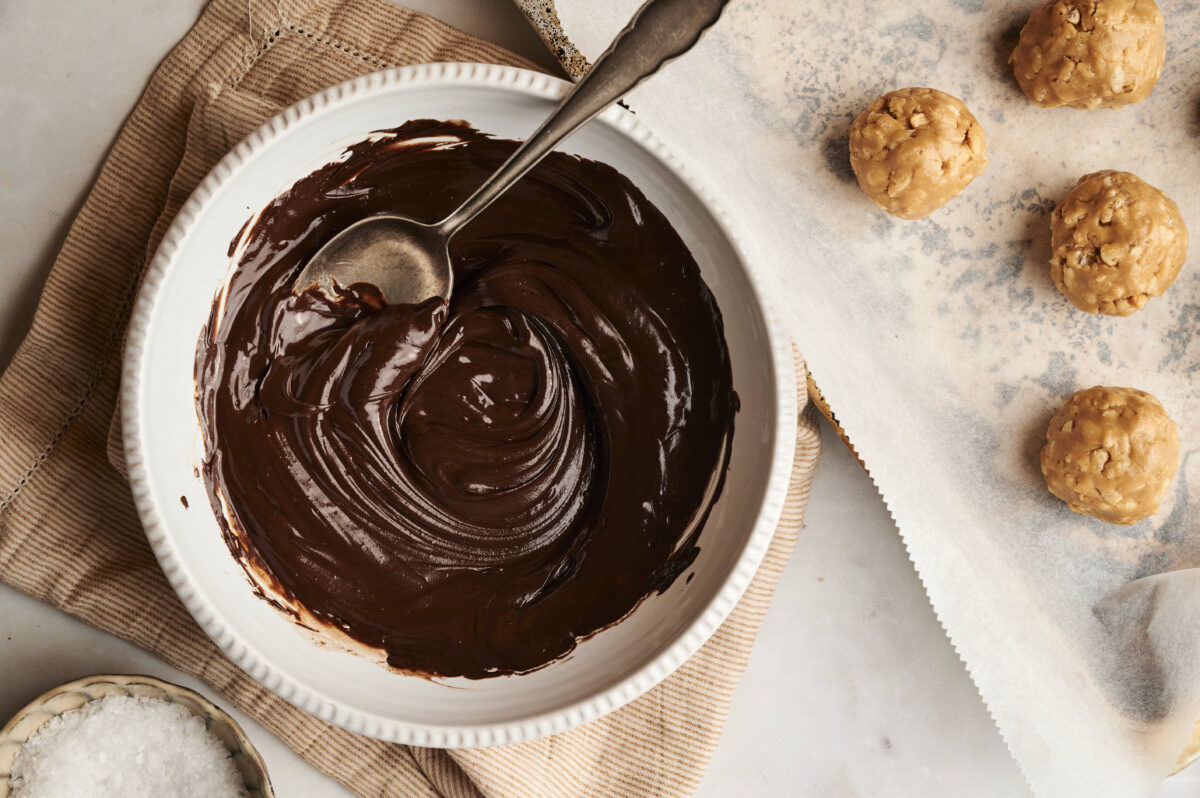
Step 3: Melt the chocolate in the microwave in 20 second intervals, stirring in between. If using chocolate chips, add butter or coconut oil to thin it out. Mix until well combined. Alternatively, you can melt the chocolate over a double boiler for a few minutes.
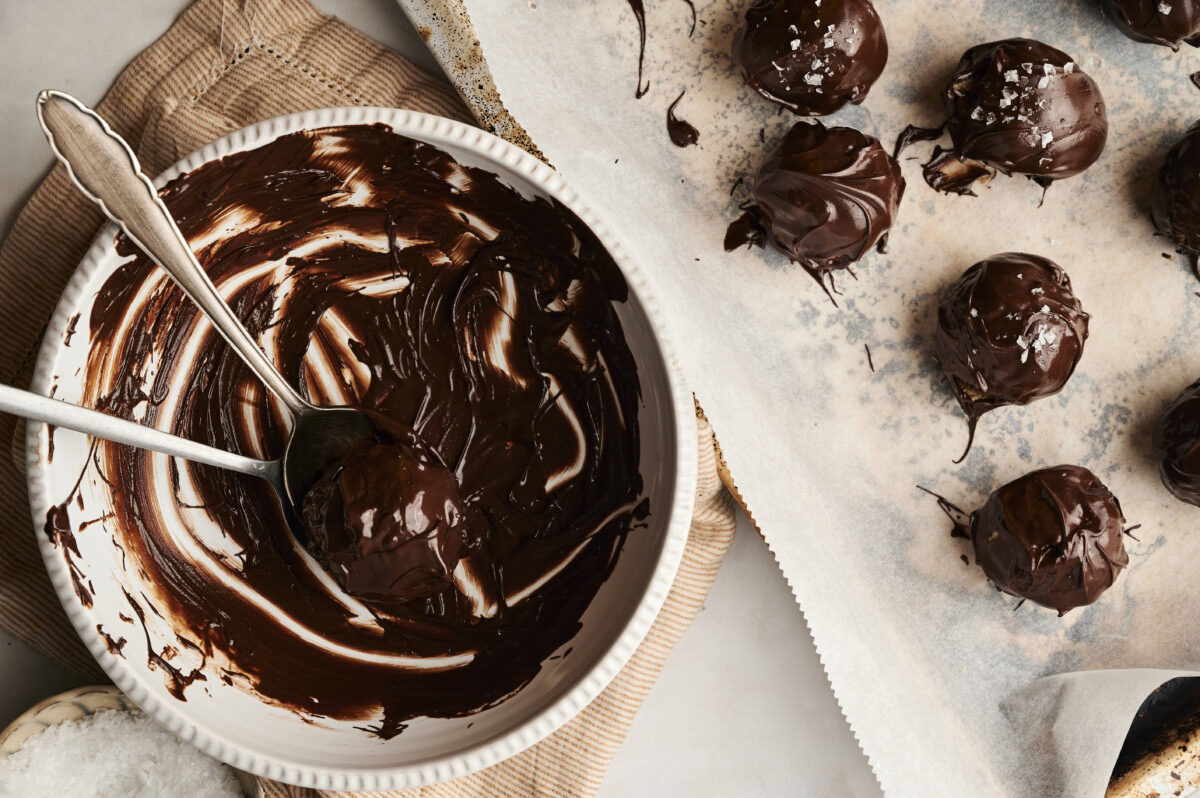
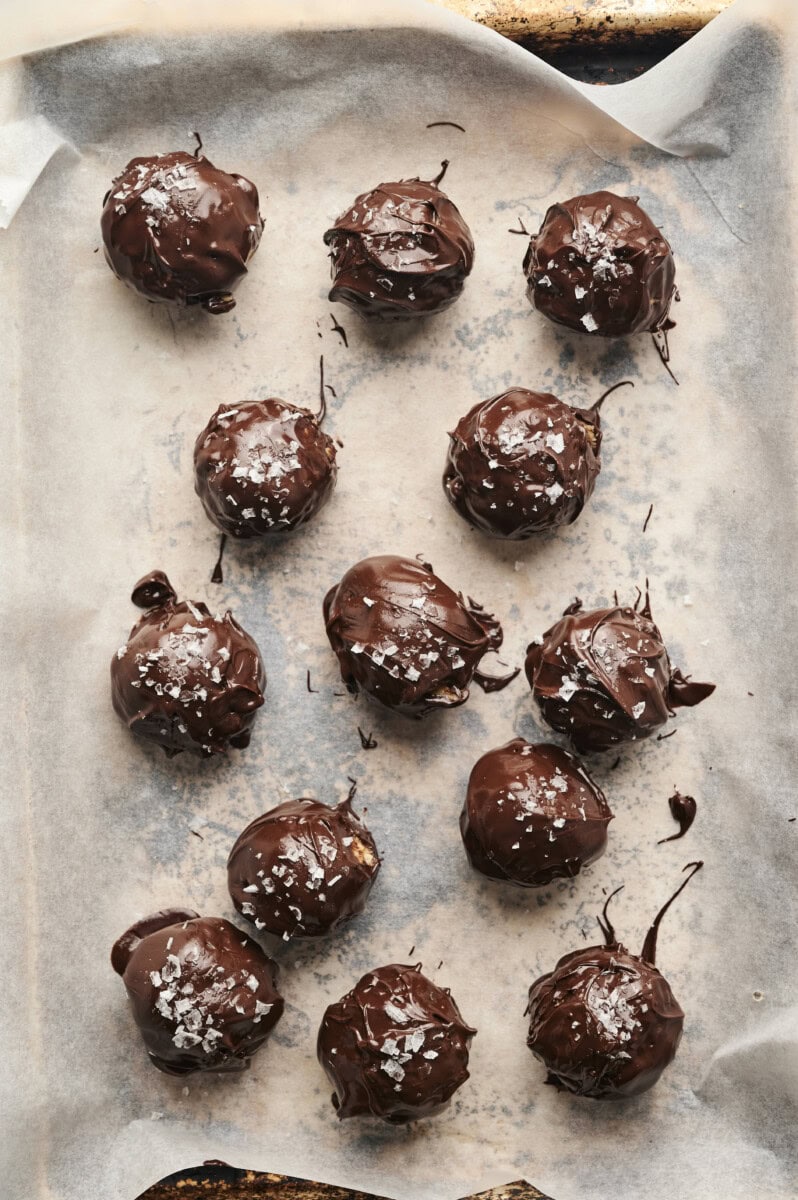
Step 4: Remove the peanut butter balls from the fridge. Working quickly, use two spoons to drop peanut butter balls in chocolate and coat. Once coated add each ball back onto baking sheet and top with a sprinkle of flaky sea salt. Place back in fridge for at least an hour before serving.
Equipment
- Stand or hand mixer
- Baking sheet
- Mixing Bowl
Storage
Store peanut butter balls in an airtight container in the fridge. They should keep about a week, if they last that long!
FAQs
Natural peanut butter with nothing but salt added is great for daily use on toast or sandwiches but doesn’t work well in this recipe. Natural peanut butter does not have stabilizers, so it’s oily and will separate. You will get the best result with national brands like Jiffy Creamy Peanut Butter. If you still want to use natural peanut butter, make sure its mixed very well and let firm up in the fridge for a few minutes before using.
This can happen when your peanut butter is too thin. You can put mixture in the fridge for 5-10 minutes to help it firm up. Adding a bit more almond flour can help thicken the mixture, but be careful not to add much as you will lose some peanut butter flavor.
I recommend using semi-sweet baking chocolate bars instead of chocolate chips. Chocolate chips have stabilizers in the that makes them harder to melt and get a good consistency. Chocolate chips will wipe, but require a bit more patience. I recommend melting chocolate chips over a double boiler rather than the microwave and keeping it on low while you dip the balls. This way the chocolate doesn’t harden.
I recommend using semi-sweet baking chocolate bars because chocolate chips have stabilizers that make them hard to melt. If your chocolate is hardening fast you can microwave again in 10 second intervals. Make sure to work quickly to prevent this from happening.

Healthyish peanut butter balls
- Total Time: 25
- Yield: 12 1x
- Diet: Gluten Free
Description
These homemade healthier peanut butter balls are made lighter with less sugar than the classic version. They are covered in chocolate and have a crunchy filling that is highly addictive.
Ingredients
1 cup of creamy peanut butter at room temp
¼ cup good-quality maple syrup
2 tablespoons almond flour
1 teaspoon vanilla extract
1 ½ cups of rice krispies
1 cup chopped semi-sweet baking chocolate
1 teaspoon butter or coconut oil
flaky sea salt for garnish (like Maldon)
Instructions
1. Line a medium sized baking sheet with parchment paper or a silicon mat. Set aside.
2. Mix peanut butter, maple syrup and vanilla in a stand mixture until well combined. Add almond flour and mix until well combined.
3. Add rice krispies to the bowl and mix by hand or a large wooden spoon. Using your hands, grab a golf ball sized amount and use your palm to form into a ball. If the dough is too soft, try adding bit more almond flour. Place finished balls on the baking sheet. Chill for at least 20 minutes.
4. Melt the chocolate in the microwave in 20 second intervals, stirring in between. If using chocolate chips, add butter or coconut oil to thin it out. Mix until well combined. Alternatively, you can melt the chocolate over a double boiler for a few minutes.
5. Remove the peanut butter balls from the fridge. Working quickly, use two spoons to drop peanut butter balls in chocolate and coat. Once coated add each ball back onto baking sheet and top with a sprinkle of flaky sea salt. Once all balls are coated in chocolate, place back in fridge for at least an hour before serving. This recipe should make 10-12 balls, depending on size.
Notes
Store chocolate coated peanut butter balls in the fridge for up to 7 days, if they last that long!
- Prep Time: 10
- Cook Time: 15
- Category: Dessert
- Method: No-bake
I make a batch of these every few weeks and keep in the freezer. So decedent!
Absolutely love these for Christmas gifts. I even get requests from people to make them!